# Why GPS Is Not a Foundation
Smartphone navigation is convenient. So convenient that many people no longer know exactly where they are – they just know where the blue dot is. That’s a problem.
GPS devices and smartphones can fail: the battery runs out, the signal drops under tree canopy or in valleys, the device breaks, moisture gets in. In dense forests or overcast mountain terrain, GPS signals are often unreliable. And in an emergency – when there’s no mobile network – a mapping app without a data connection is little help if you haven’t loaded offline maps.
Anyone who masters map and compass has a method that never needs a battery, never crashes, and needs no network connection. This isn’t romantic nostalgia – it’s simply the most reliable navigation method that exists.
# Understanding the Topographic Map
A topographic map is not a street map. It shows not just roads and paths, but the terrain itself – elevations, depressions, steep slopes, forest edges, waterways. Anyone who can read one sees the terrain before they enter it.
# Scale
The scale determines how much real terrain one centimetre on the map represents:
1:25,000 – 1 cm = 250 m. Very detailed, ideal for hikes and field operations. Shows individual buildings, narrow paths, contour lines at 10m intervals.
1:50,000 – 1 cm = 500 m. Good for overview and longer trips. Less detail, but covers larger areas per sheet.
For serious field navigation, 1:25,000 is the standard.
# Contour Lines
Contour lines are the heart of the topographic map. Each line connects all points of equal elevation. What this means in the field:
- Lines close together → steep slope
- Lines far apart → flat terrain
- Closed circles → hill or depression (arrows pointing into depressions)
- V-shape pointing downhill → stream valley or ravine
- V-shape pointing uphill → ridge or spur
Every fifth contour line is printed thicker (index contour) and carries a label. The interval between lines (contour interval) is shown in the map legend – usually 10m at 1:25,000.
# Map Symbols
The most important symbols to know by heart:
Blue features are always water (streams, rivers, lakes, marshes). Green areas are vegetation (forest, scrub). Black lines are man-made features (paths, fences, buildings). Brown lines are contour lines. Yellow or white areas are open terrain.
The complete legend is always in the map margin – and anyone who regularly works with maps will soon know the common symbols by heart.
# The Compass: Basics and Technique
There are many types of compass. For field navigation, the baseplate compass (also called a protractor compass) is the right choice: a transparent plastic base with a rotating compass housing and integrated ruler and bearing aids.
# How a Compass Works
The compass needle points to magnetic north – not the geographic north pole on your map, but close enough for most practical purposes. The difference (declination) is about 2–3° in Central Europe and is negligible for trips under 10 km.
What causes compass errors:
- Metal objects (knife, carabiner, belt buckle)
- Electronic devices (smartphone, GPS)
- Power lines and railway tracks
- Vehicles
Always keep the compass away from these – at least 30 cm as a rule of thumb.
# The Core Skill: Holding a Direction
The most common thing you do with a compass: pick a direction and hold it.
- Hold the compass flat on your palm, level
- Let the needle settle
- Rotate the housing until the north marking (usually a red N or arrow) aligns with the needle
- The direction the travel arrow points is your bearing
If you know you want to head southwest: set the housing to 225°, then rotate your body until the needle and N marking align. The travel arrow now points exactly southwest.
# Using Map and Compass Together
Knowing map and compass separately is a start. Using them together is the real craft.
# Step 1: Orient the Map
Place the map on a flat surface. Lay the compass on it and align the map’s north direction (top edge) with the compass needle. Now the map and terrain agree – what’s left on the map is also to your left in the terrain.
# Step 2: Finding Your Position
With a known position, it’s simple: you know where you are and can read what lies ahead.
Without a known position: back-bearing (triangulation).
- Choose two or three prominent landmarks in the terrain that you can identify on the map (hilltop, tower, junction)
- Take a bearing to each landmark and note the angle
- On the map, draw a line from each landmark in the reverse direction
- Where the lines intersect is your position
Three bearings produce a small triangle (error triangle) – your actual position lies within it.
# Step 3: Taking a Bearing and Setting Your March Azimuth
- Place the compass on the map, aligning the base edge from your position to your destination
- Rotate the housing until the north lines in the housing are parallel to the north lines on the map
- The displayed angle (azimuth) is your march bearing – navigate on this value
In the field: Stop every 200–300 m, check your course, identify a landmark ahead in the correct direction, and head for it. Don’t stare at the compass while walking – pick a prominent feature in your desired direction and walk to it.
# Reading Terrain Without Tools
The best complement to map and compass is your eyes. Anyone who has learned to read terrain immediately understands where they are.
Watercourses as guidelines. Water flows downhill. Streams lead to rivers, rivers lead to settlements. When in doubt, follow a watercourse downhill – sooner or later you’ll reach a path or people.
Recognising slopes and valleys. A valley opens downward, the slopes spread apart. A ridge is the highest point between two valleys. A saddle or pass is the lowest point on a ridge. These structures are directly readable on the map and directly visible in the terrain.
Forest structure. Managed forests (common in Europe) usually have rides cut at cardinal directions (N-S, E-W). Forest roads often run parallel to these rides. A transverse forest road is usually a good orientation aid.
Light and shadow. In Central Europe, the sun is always to the south (east in the morning, west in the evening). Tree shadows point roughly north. Useful as a rough guide, not a precision tool.
# Natural Landmarks
When map, compass and electronic devices are unavailable, reliable methods for rough orientation still exist.
# The North Star
Polaris (the North Star) sits almost exactly above the North Pole and reliably indicates north. Finding it:
Look for the Big Dipper (Ursa Major) – the distinctive box-shaped constellation. The two outer stars of the cup (Merak and Dubhe) point toward the opening of the dipper; extend that line about 5× the distance between those two stars. The first bright star on that line is Polaris.
Requires a clear night – but works year-round in the northern hemisphere.
# Sun and Watch
With an analogue watch and the sun, you can roughly determine south:
Point the hour hand at the sun. The angle between the hour hand and the 12 o’clock position is bisected – the bisector points south. In summer time: use the 1 o’clock position instead of 12 due to daylight saving time.
Accuracy is roughly ±10–15°, suitable for rough orientation only.
# Moss and Growth
The old saying “moss grows on the north side” is only partially true: in dense forests or damp spots, moss grows everywhere. More reliable: tree stumps show denser growth rings on the south-facing side (more sun = more growth). Individual freestanding trees tend to have more branches on the south side. Useful as a supplementary clue, not as a standalone method.
# The Right Gear
A good compass is a decades-long investment. Cheap compasses with sluggish needles or unreadable scales are a burden in the field, not a tool.
What matters:
Baseplate compass with transparent base – allows direct work on the map. The base has integrated scale lines for 1:25,000 and 1:50,000.
Rotating bezel – azimuth can be set and held while marching.
Fast settling needle – cheap compasses oscillate for a long time. Models from Suunto and Silva settle in 1–2 seconds.
Liquid-damped capsule – stabilises the needle, reduces tremor.
Two proven entry-level models that meet all requirements for outdoor and emergency navigation:
Suunto A-10 – A classic entry-level compass, robust, good readability, on the market for decades. Ideal for day trips up to multi-day mountain tours.
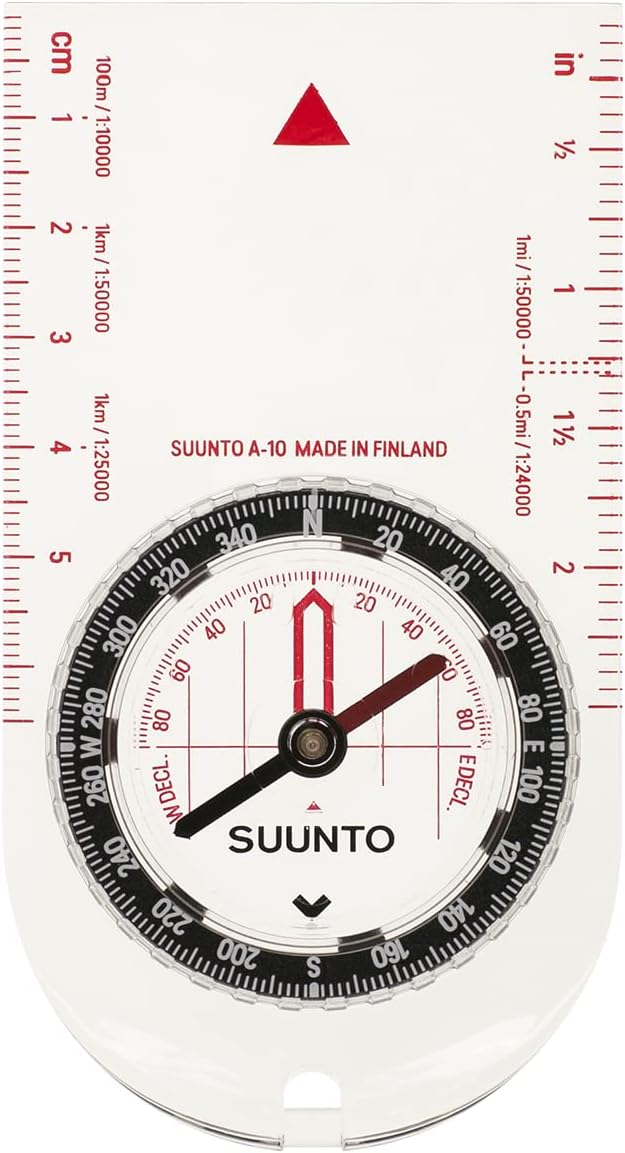
Suunto A-10 Kompass
✓ Best ValueSilva Ranger – Slightly more precise than the A-10. The folding mirror enables long-distance sightings where you can see both your target and the compass needle simultaneously – instead of switching your gaze back and forth. This gives significantly more accurate bearings on distant landmarks. The mirror also doubles as an emergency signal mirror. The built-in inclinometer is useful for measuring slope angles and assessing avalanche risk. First choice if you want to navigate more seriously.

Silva Ranger S Kompass
★ Our Pick# Learning to Navigate: The Practical Path
Reading about navigation is a start. Actually being able to do it requires practice in the field.
# The Fastest Path to Competence
1. Buy a map and map your home area. Get a 1:25,000 map of your local area. Start with the familiar: find your home on the map, trace known routes. What you know is easier to link to the map.
2. Practice compass without GPS. On your next walk: turn off GPS, take the map, track every path on the map as you go. Take a bearing before leaving a junction. Only then check GPS as confirmation.
3. Orienteering (OL) is the most efficient method for quickly mastering map and compass. Even as a beginner: easy orienteering courses in nature are accessible at any level and improve navigation faster than any book. Local orienteering clubs offer regular events.
4. Navigate routes, not points. Beginners navigate to points (the destination). Experienced navigators use route features: “I hold this bearing until I hit a stream, then turn right until the ridge.” These “catching features” make navigation much more forgiving.
# What Really Counts
Precision comes with experience. At the start, what counts is: roughly knowing where you are, proceeding systematically rather than guessing, and noticing early when you’re uncertain – not after you’ve walked 3 km in the wrong direction.
# Further Reading
Fully equipped for emergencies:
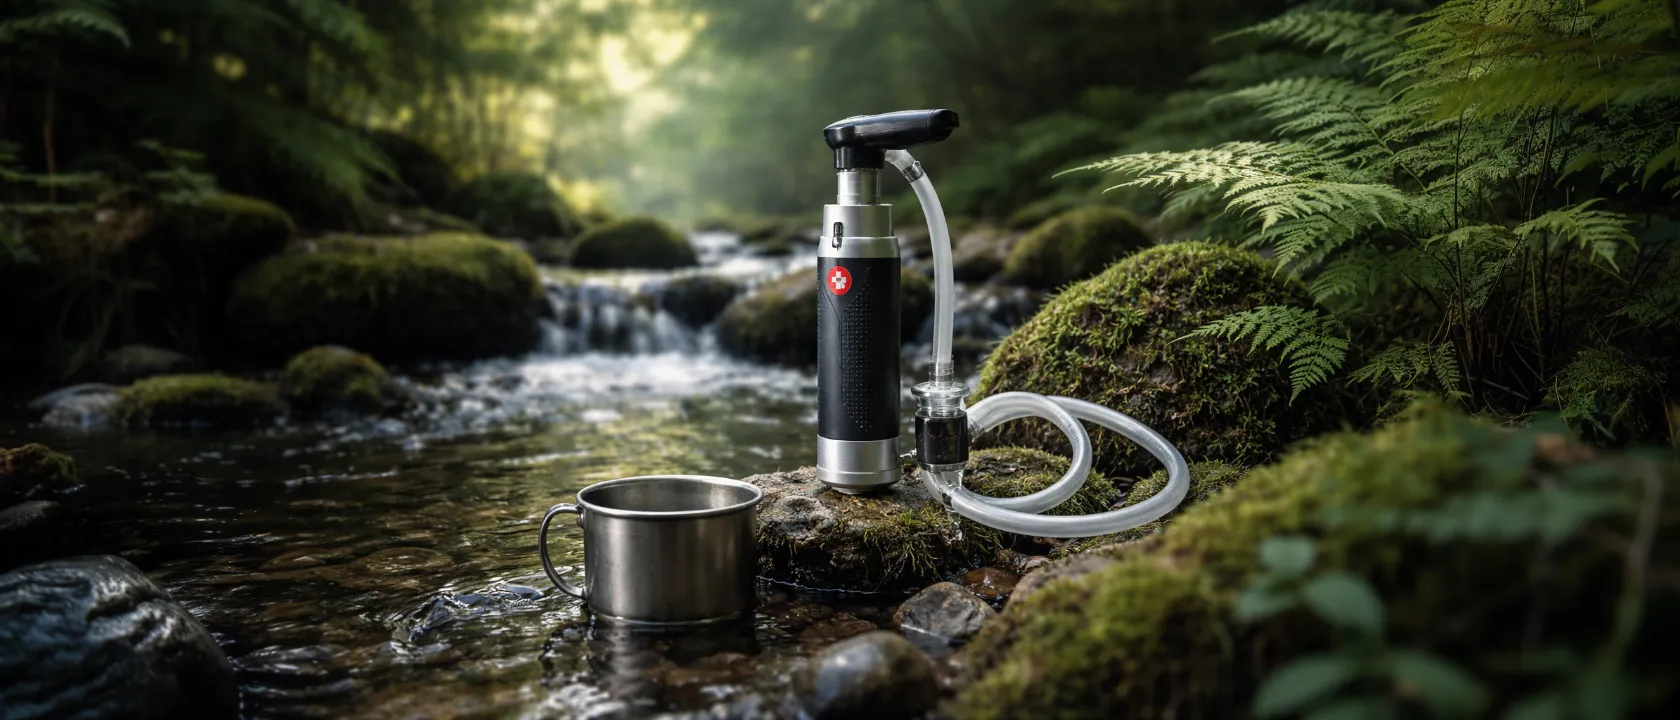
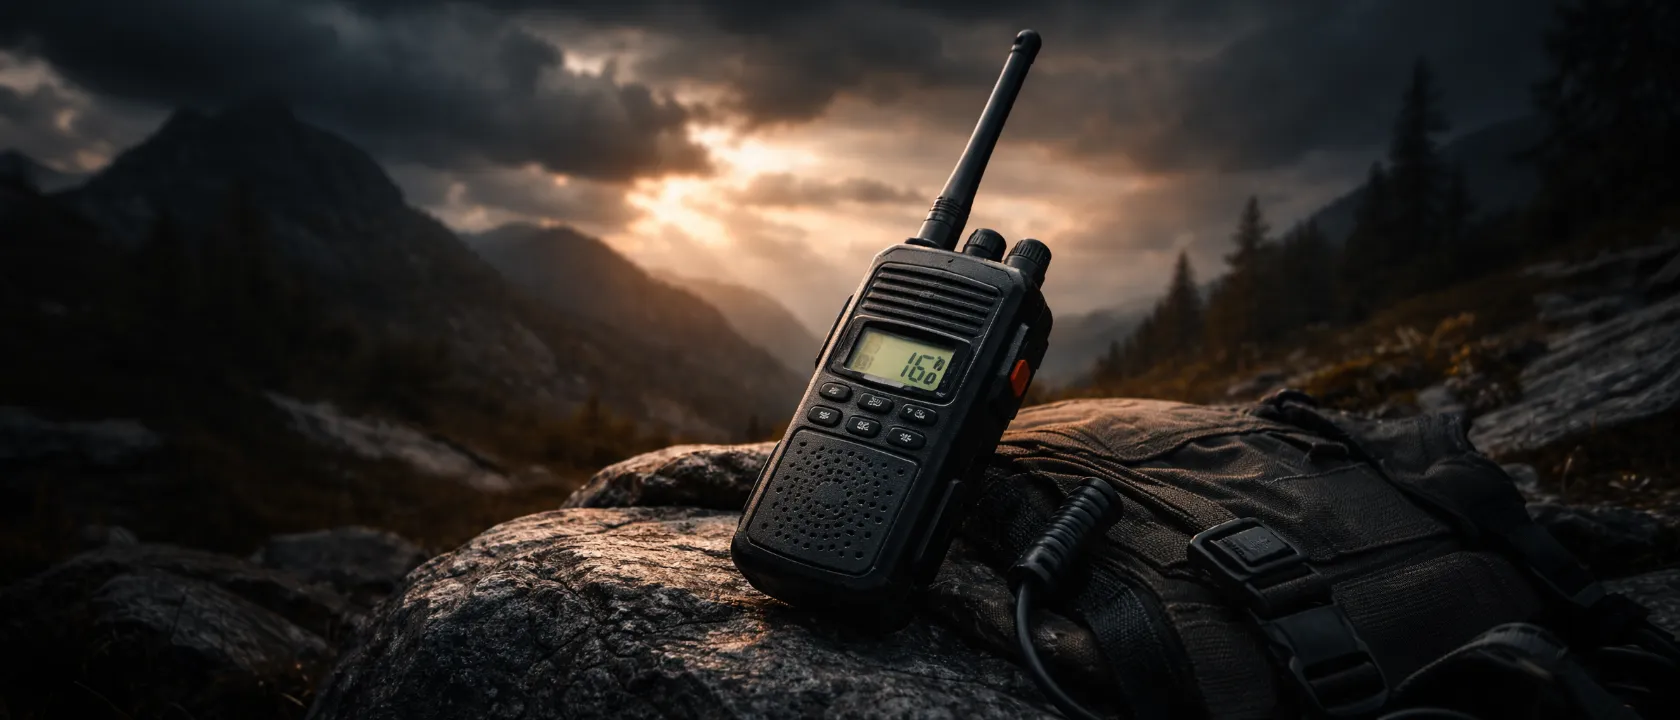
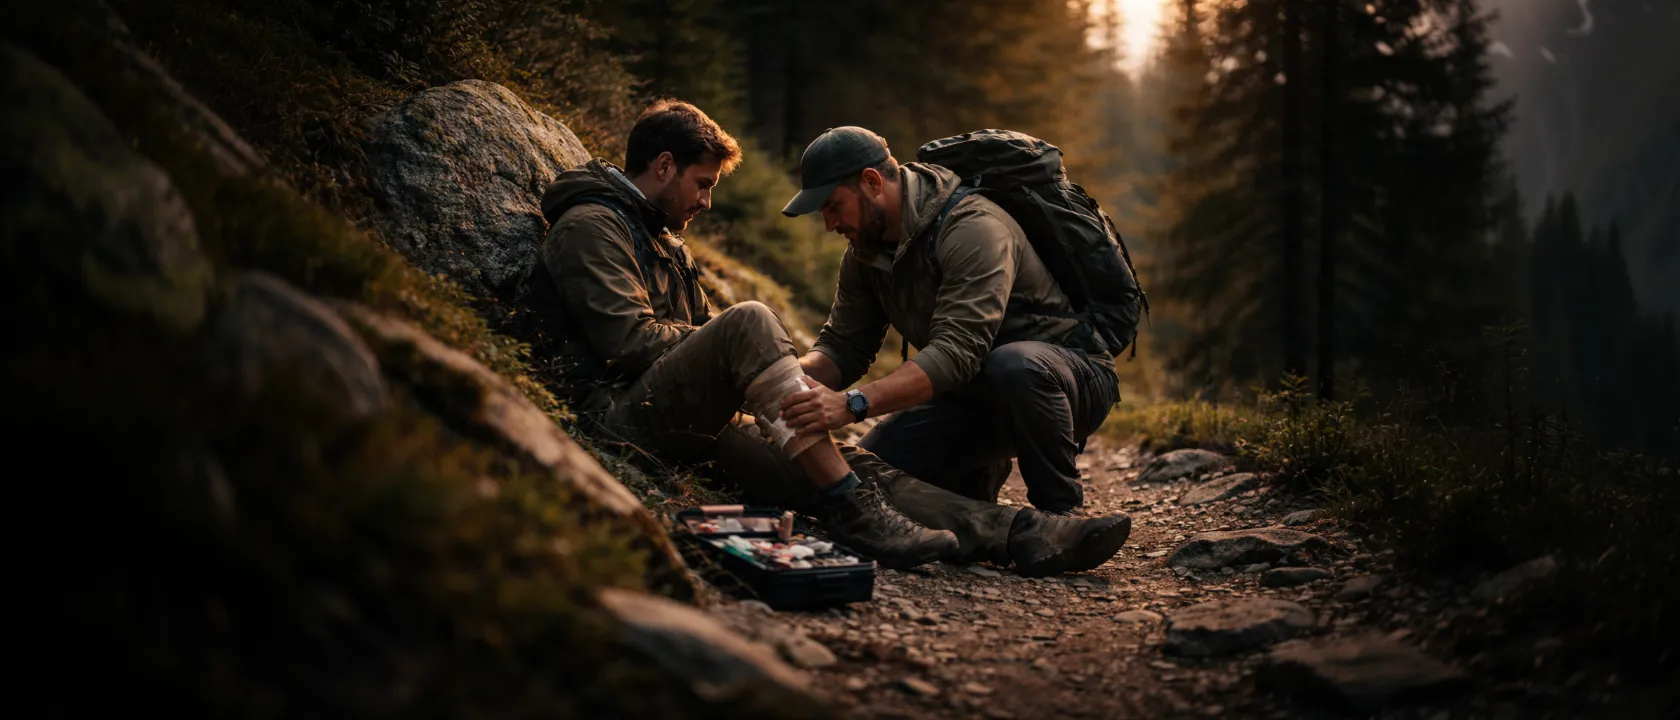
→ Emergency Backpacks Compared – Which bags hold up when it matters → Radio Communication in Emergencies – Communication when the network fails → Water Purification – Securing your water supply on the go
Do I need an expensive compass or will a cheap one do?
For beginners, a simple baseplate compass from around €15–20 (e.g. Suunto or Silva) is perfectly adequate. What matters: a rotating bezel, a clearly readable scale, and a transparent baseplate for working on the map.
Where can I get topographic maps?
In Germany, official topographic maps are available from the state surveying offices (Landesvermessungsämter). Free digital versions are available via BayernAtlas and similar state geoportals. Kompass Verlag and Alpenverein maps are widely available in outdoor stores for popular areas.
What is the difference between magnetic north and geographic north?
Geographic north is the actual North Pole that maps are aligned to. Magnetic north is where compasses point – currently about 2–3° east of geographic north in Central Europe. This difference is called declination. For short trips it’s negligible; for precise long-distance bearings it needs to be applied.
What should I do if I get lost?
Stop – don’t keep walking. Return to the last known position rather than guessing. Use map and compass to systematically identify landmarks. When in doubt, follow water downhill – it almost always leads to paths or settlements. Signal for help if needed.
Can I navigate with Google Maps screenshots?
Only partially. Screenshots lack a north indicator, scale bar, and elevation data. Offline map apps like maps.me or OsmAnd are far better – though understanding that any device can fail is part of being prepared.
How accurate does a bearing need to be?
In the field, ±5° is sufficient. A 5° error produces about 87m deviation after 1km – easily manageable if you verify your course against terrain features every 200–300m.
# Conclusion
Map and compass are not hobbyist techniques – they are the foundation of all navigation. GPS hasn’t replaced this knowledge; it’s just buried it. In a situation where technology fails, the person who still knows the craft has the advantage.
The barrier to entry is low: a 1:25,000 map of your local area, a €20 compass, and an afternoon in the field are enough to build the basics. Everything after that comes with practice – and every trip taken without GPS is a step in that direction.